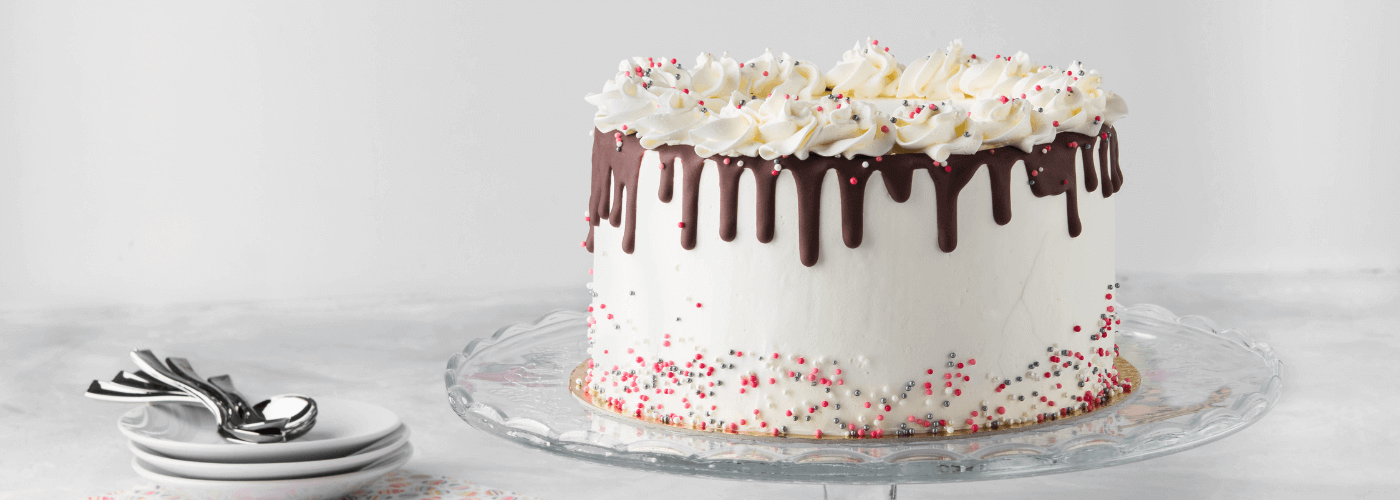
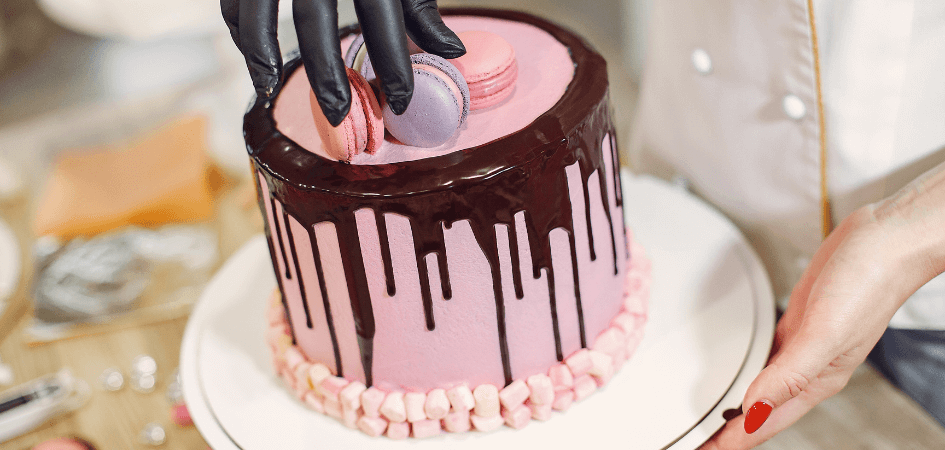
The easiest way to make your cake look as fancy as an occasion cake is to go the drip way! Drip cakes need a lot of practice, but once you’ve aced them, there’s no stopping you!
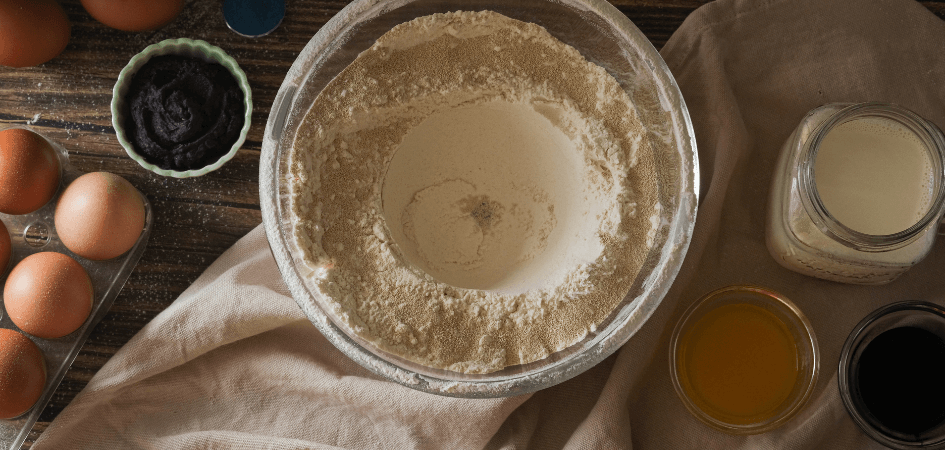
The ingredients
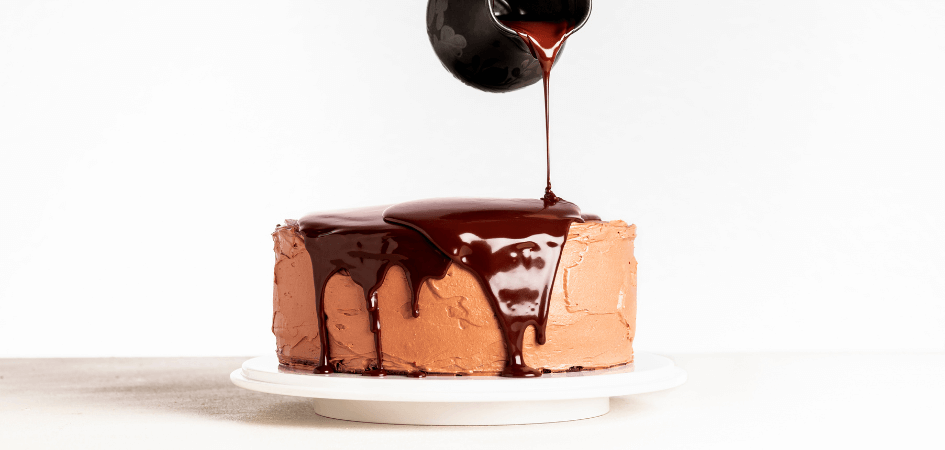
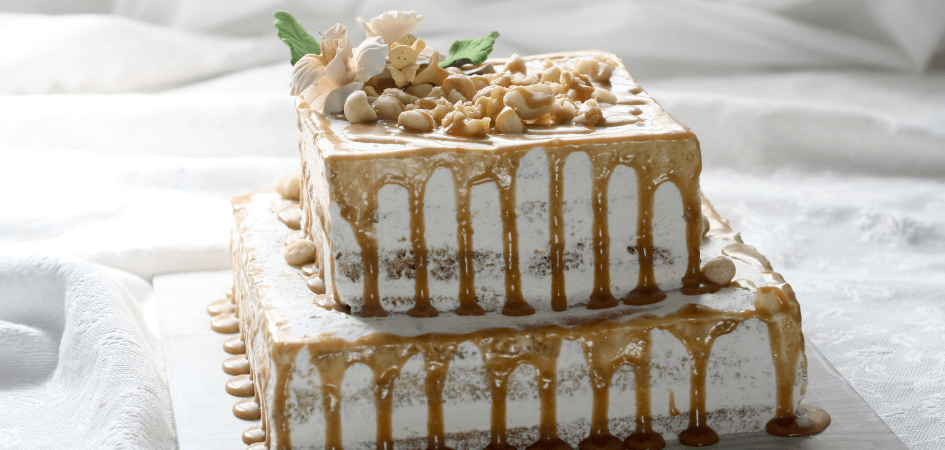
You could either use dark chocolate or white chocolate for this. Heavy cream or heavy whipping cream could work too. Buttercream in a slightly diluted form would work too, but it may not dry up the way chocolate does. You can take a call on the basis of the best available option. Just make sure you use the right thickness so it doesn’t roll out of the cake area. When it comes to dark chocolate, 50-60% cocoa is the best option. Caramel is also a ‘sweet’ option for drips!
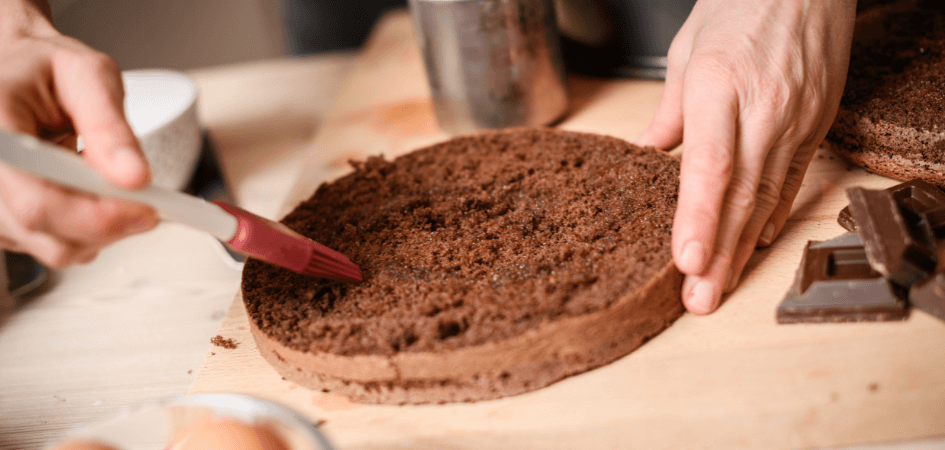
The base
It is best to have a soft and sturdy base for drip cakes. The evenness needs to be accurate for the best results too! The edges around the cake need to be uniform too. The drips need to drip uniformly for the best effect! And, use a cake leveler for top-level perfection (literally).
The temperature
Ideally, the dripping liquid should be cool enough to not mix with the buttercream layer of your cake. The cake needs to be cooled before starting the drip. You also need to refrigerate once the drip is done.
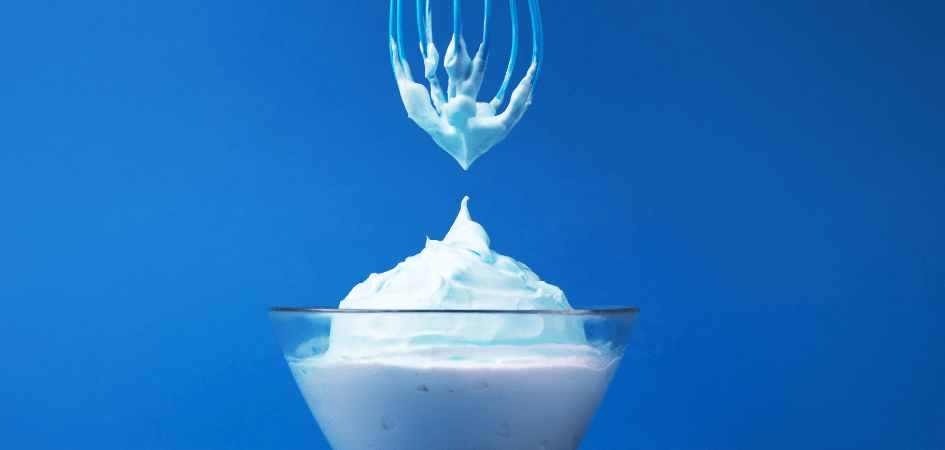
The consistency
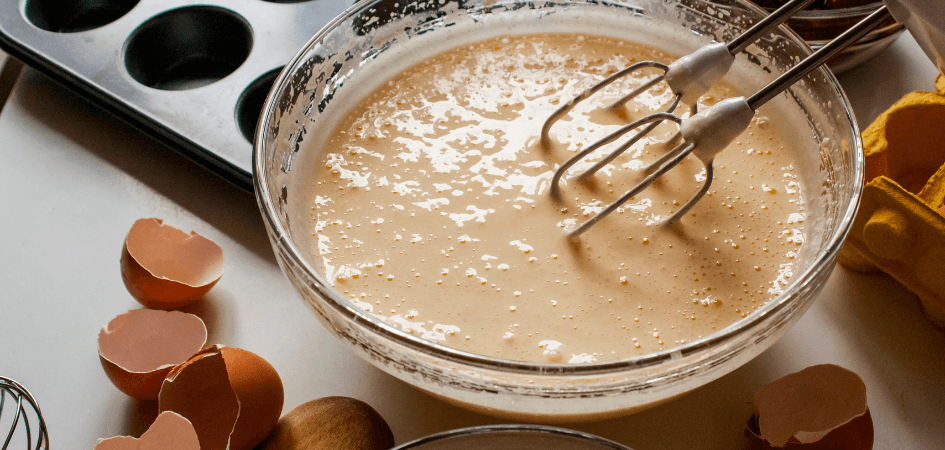
Once the cream is mixed, see if you are able to drip them on a plate. If they drip and form a circle for a few seconds before spreading, then you have the right consistency.
The shape and colour
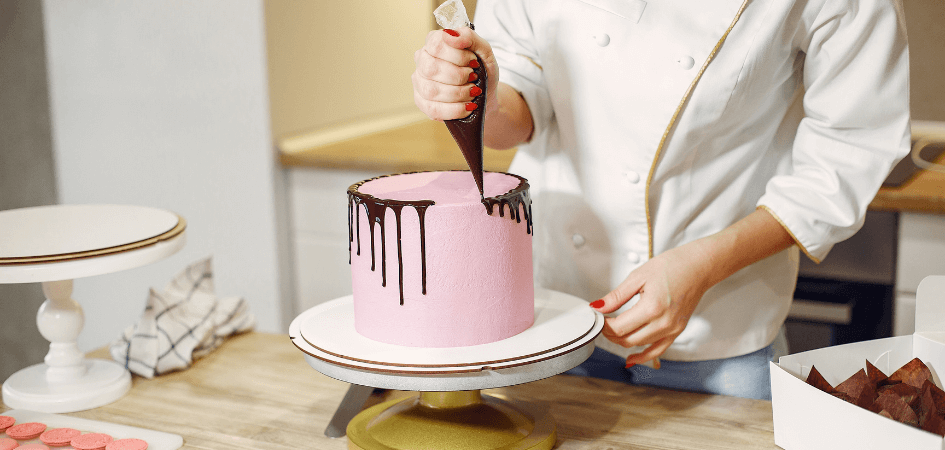
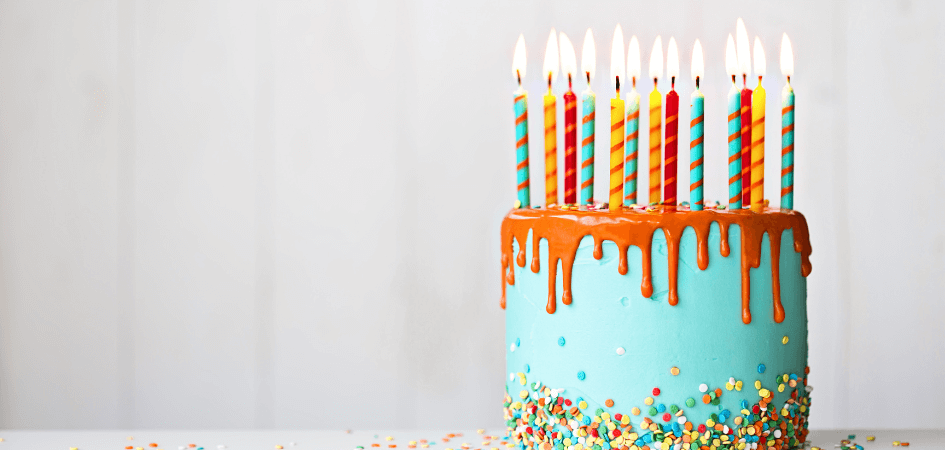
Drip cakes work best on circular cakes, but if necessary you can drip on square, heart, or even off-shaped cakes. Practise before starting on the final cake. Colour works well when it's a contrast. Use a dark-coloured drip for a light-coloured cake and vice versa. Use food-based gel colour to change the colour of the drips. You could also try mixing 2-3 colours very lightly and have an ombre effect.
The method
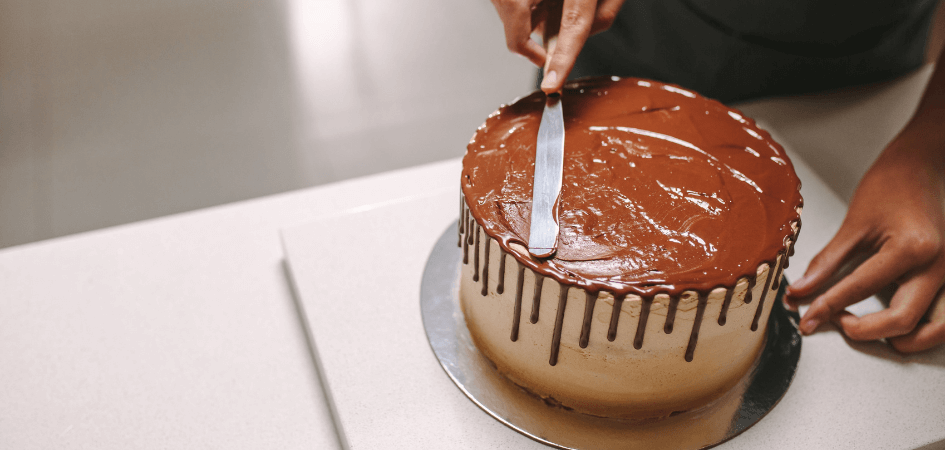
Always drip the sides of the cake first and then fill the top. Filling the top first may lead to too much dripping from the edges. When evened out at the top, it may also end up not being at the correct level. When you drip the entire cake to the bottom, they tend to look like a Halloween cake. You want to ensure that the dripping consistency is uniform but the drip lengths aren’t.
The tools
You can use a spoon or a small bowl to pour the drip on the cake. You also need to use a flat spatula or butter knife after pouring the liquid on top. Once the sides are done, fill the top as suggested before. A turntable is a must-have for drip cakes. Unless you have a small table around which you can move swiftly in a smooth flow.
The storage
Post the drip process, make sure you refrigerate your cake well. A warm cake will make the drips sulk and reach the bottom which will end up looking very shabby.
Additional tips
- Once dripped, never touch the side drips with fingers or tools
- You can freeze or increase the thickness of the drip and use it to write on the cake as well!
- Don’t try drips on fondant cakes, it can be quite a mess! Create a fondant drip for that if need be.